Local Foods – My Very Own Lettuce
Published by nika on Monday, June 12, 2006 at 1:45 PM.
In a previous post I shared some shots of my deck garden. I felt that I didn’t have enough space to plant much lettuce and was rather bummed. I stood outside for a bit the other day and realized that some of the junk in my yard would make for a lovely large lettuce bed.
I am going to share how I made the planter here and then how it progresses over time. Will be planting in succession so I get several crops of super fresh greens!
I planted several types of lettuce from High Mowing Organic Seeds:
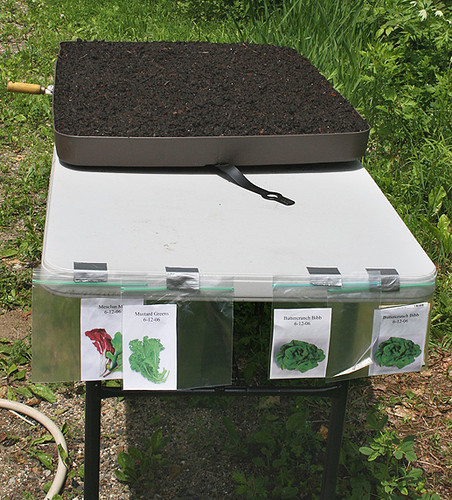
Mesclun Mix
Mustard Greens
Buttercrunch Bibb (cant find a link for this on their site)
Here is how I constructed the planter.
I wanted to put the planter on a table because, being pregnant, bending over is hard and its only going to get harder!
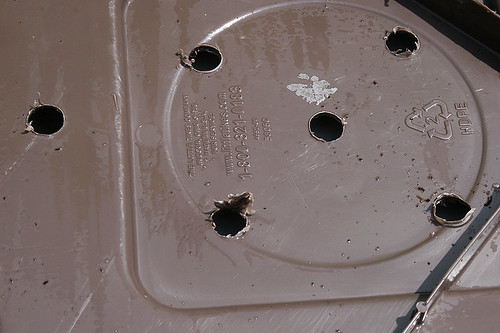
I found an unused sand box cover that would be a good size to fit on a table we keep outside.
I drilled holes in the tray, was super easy with my drill.
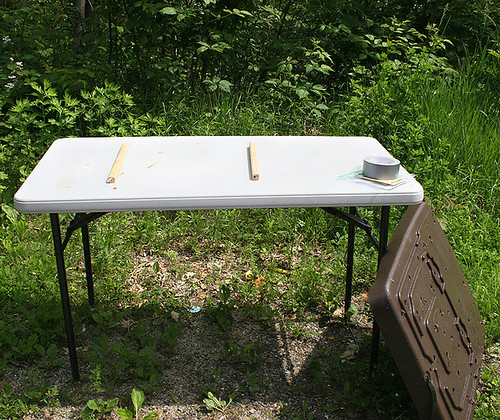
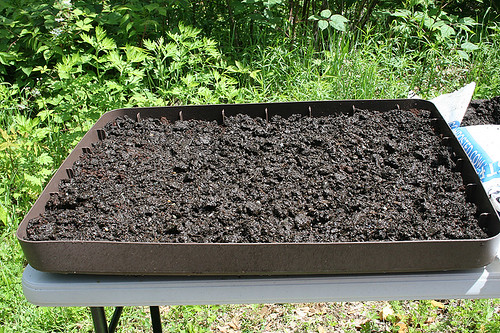
Here you can see the table has been put into a sunny spot (more sun than my deck) and I put some spacer wood sticks down to elevate the tray to enable draining.
The drilled tray was put on top of the table over the spacers.
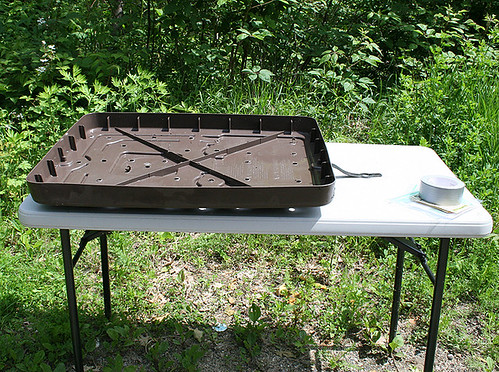
Peat moss is put down and watered.
Organic composted cow manure is layered down and watered.
Organic garden soil is layered down over the manure layer.
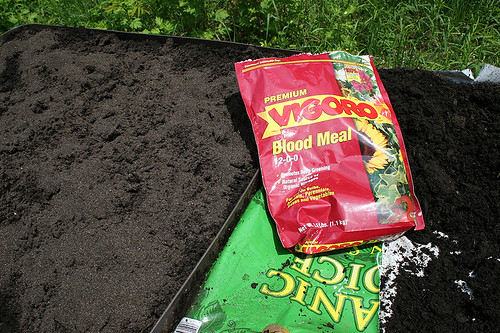
Blood meal is layered over the organic garden soil and then mixed in well (I know it’s a rich mix).
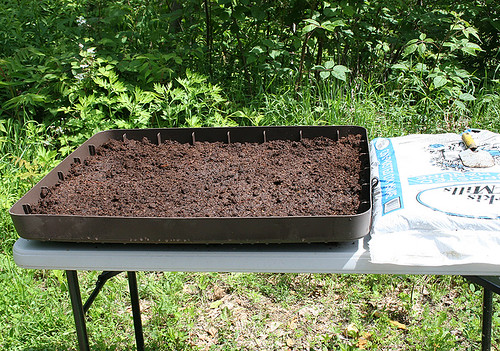
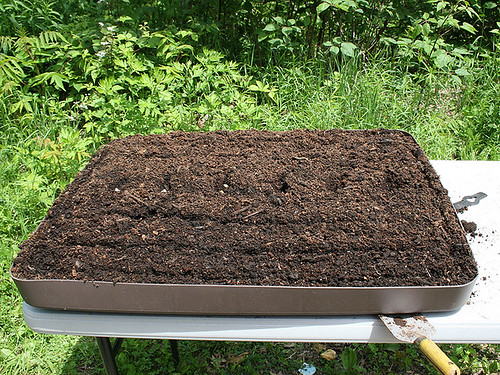
I mixed peat moss and organic garden soil together (approx. 1:1) and layered that over the top. This is the seeding/germinating layer.
Furrows were made in the seeding layer and seeds were put into the furrows. I also planted some corn to transplant into a spot in back of our house. Marigolds were planted around the edge (along with bibb lettuce) in an attempt to cut down on predators.
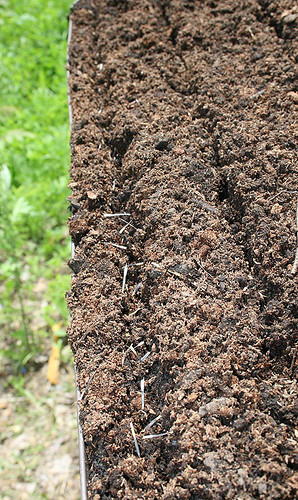
Seeds were covered over and then the whole thing was well watered.
Cant wait and am crossing fingers for happy lettuce!


Links to this post